Front and Back Cover designs

This is the first front cover I created, blocking out my title and main character positions.

I hated it.

Front Cover Devel 4


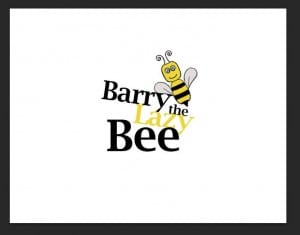
I wanted my title to be bigger, more obvious and more interesting, so I came up with this:

front cover update


Much better! However I wanted it to appear so that the Bee was leaning on the text and that is why it is slanted, so I altered my little character a little.

front cover update 2


My next thought was adding colour so I experimented with a few:

My favourite was the blue colour, however I still wasn’t thrilled with the design but I had hit a block and couldn’t think of any genius ideas. I decided to move on to my back cover whilst I think.

back cov

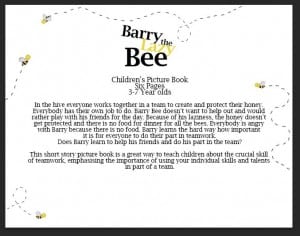
My back cover design came straight to me and I loved it. Not what I had planned in my storyboard but much better. The small details of the bees does not take the distraction away from the synopsis in the centre.

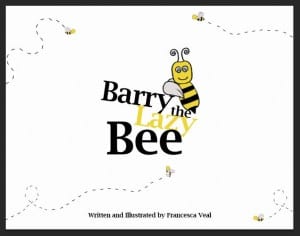
I then decided the small bees could be a theme and run on my front and back cover, which ultimately will be adding detail to my front cover and not look like too much.

font cov


I think I still need to spend some time playing around with the angles and positions of the bees however this design is much better than my original.
Character Development

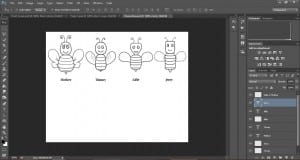
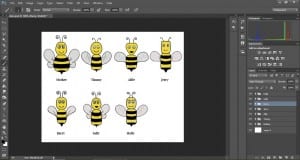
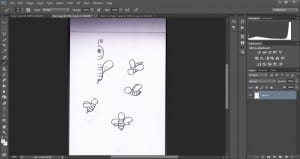
Before I continued with the rest of my book I completed the designs of my bee characters, using the sketches I uploaded and Photoshop. I have only worked on the one front pose for each character, and I want to experiment on using just this pose to start with, and then adding in other poses later on.


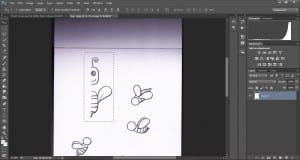
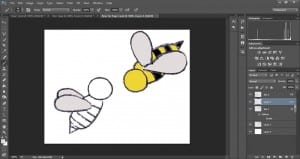
I started by removing the sketch and placing into a new blank canvas, removing the white and duplicating the sketch to make the other half of the bee.Character Development

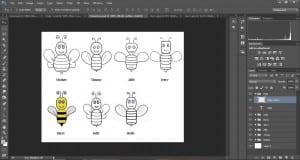
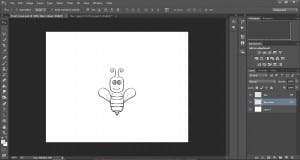
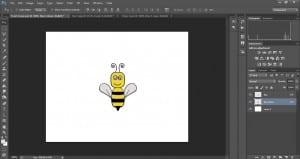
Secondly I went over the outline with a small black paintbrush to make the outline of the bees more visible. And then began colouring the characters in.

Character Development 2

I planned to use my sketch of the female bee for the character “Sally” however once edited the character looked more appropriate for the “Mother” character and I was short of a “Sally” and “Holly” bee. Using segments of different characters and editing them together, I was able to create the two new characters and distinguishing them somehow from the rest.

Character Development 3

My focus in creating these characters was to make an obvious difference in look between each of them, so it would be easy for my younger target audience to distinguish between the characters and be able to follow the storyline.

Front Cover Development

I have began working on my front cover, following my plan ideas in my storyboard.

I began with my central image of my main character. I have chosen this bee sketch that i scanned in.

Front Cover Devel 1

I removed the white from the background, duplicated the layer and flipped the layer horizontally to make the left side of the body.

Front Cover Devel 2

The outline needed a thin layer over the top to make it stand out more, and then I began colouring in the body on a layer underneath the outline – as shown in my workshop.

Front Cover Devel 3


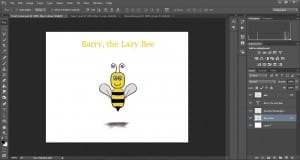
I then placed in my title (temporary font and colour until I have decided on my type) and a shadow underneath the bee. I like the simplicity of my front cover at the moment and I think the plain white background is working better than a block colour, however I may add a faded background like I did for my first page but a green colour for the floor rather than blue for the sky.

Front Cover Devel 4

Page One Development

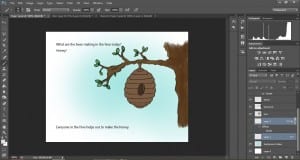
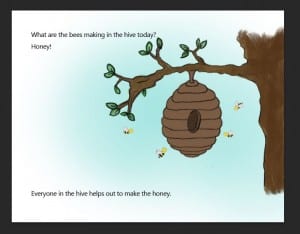
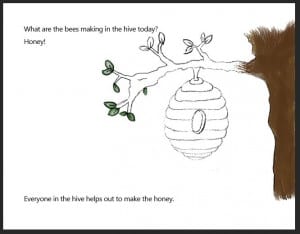
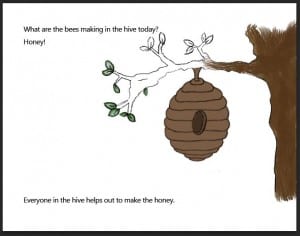
I have been using what I was taught in my design workshop on line painting to colour in my objects for my first page.

blog update2

blog update

blog update3

blog update4


I am really pleased so far how well my images are turning out, despite taking a long time with all the layering of paint and small brush strokes I am doing. I am hoping my main characters which I will be designing next will go just as well.

I need to start thinking also about the type of font I want for my pages. At the moment I am torn between keeping the book looking quite traditional and using a serif font with straight lines such as Times New Roman, or a more handwritten font (perhaps designing one myself) to keep the book looking child-like and also matching my messy/painted look images.

First stage of editing

I have begun editing my scanned in drawings – removing any white from the background and experimenting with different brush tools to add colour to my images.

I have added in the text of the story, however I want to look into more details about which type of font and size I want to use so for now I am just using what it is set as.

23.03.16 23.03.16 2

I like how the images are starting to look, and the fact you can see the brush strokes makes the image look more ‘authentic’ and ‘cute’ looking – similar to the Winnie the Pooh books!

I want to keep experimenting with different brush types and also maybe add in a faded background, maybe with a 30% opacity?